Thursday, August 9, 2012

Pin tackle: Home made teething biscuits

I found this recipe for Homemade teething biscuits on Pinterest and just had to try them for Sofi! Here's how I made them:

1 cup of dry infant cereal (I used rice)

1 cup of flour

Stir together with 2 tsp cinnamon

Add 1/3 cup mashed bananas or other food (I used a jar of banana baby food)

Add 2 tbsp oil and 3 tbsp water and mix into a non-sticky dough 

Roll out, cut into desired shape and bake at 425 for 10-12 minutes.

Allow to cool completely before giving to child.


Sand box fun!

Sofi has a new-found love for sandboxes and loves to play in the one at our neighborhood park.

I love how you can see the sand falling out of her hand in this one!

See her pants? She likes to scoop up sand and dump it on her legs.

This is when she stuck a rock in her mouth (Don't worry, we got it out and she was fine)

Messy baby!

Wednesday, August 8, 2012

Photo editing tutorial with Photo Pos Pro

I downloaded a free photo editor called Photo Pos Pro and it is fantastic! It doesn't have quite as many tools as photo shop or some other more advanced editor but it is really great for touching up a basic photo. Anyways, I am just going to post a little tutorial on how to edit with photo pos pro. (and I'm sure some of these tricks apply to photo shop, too)

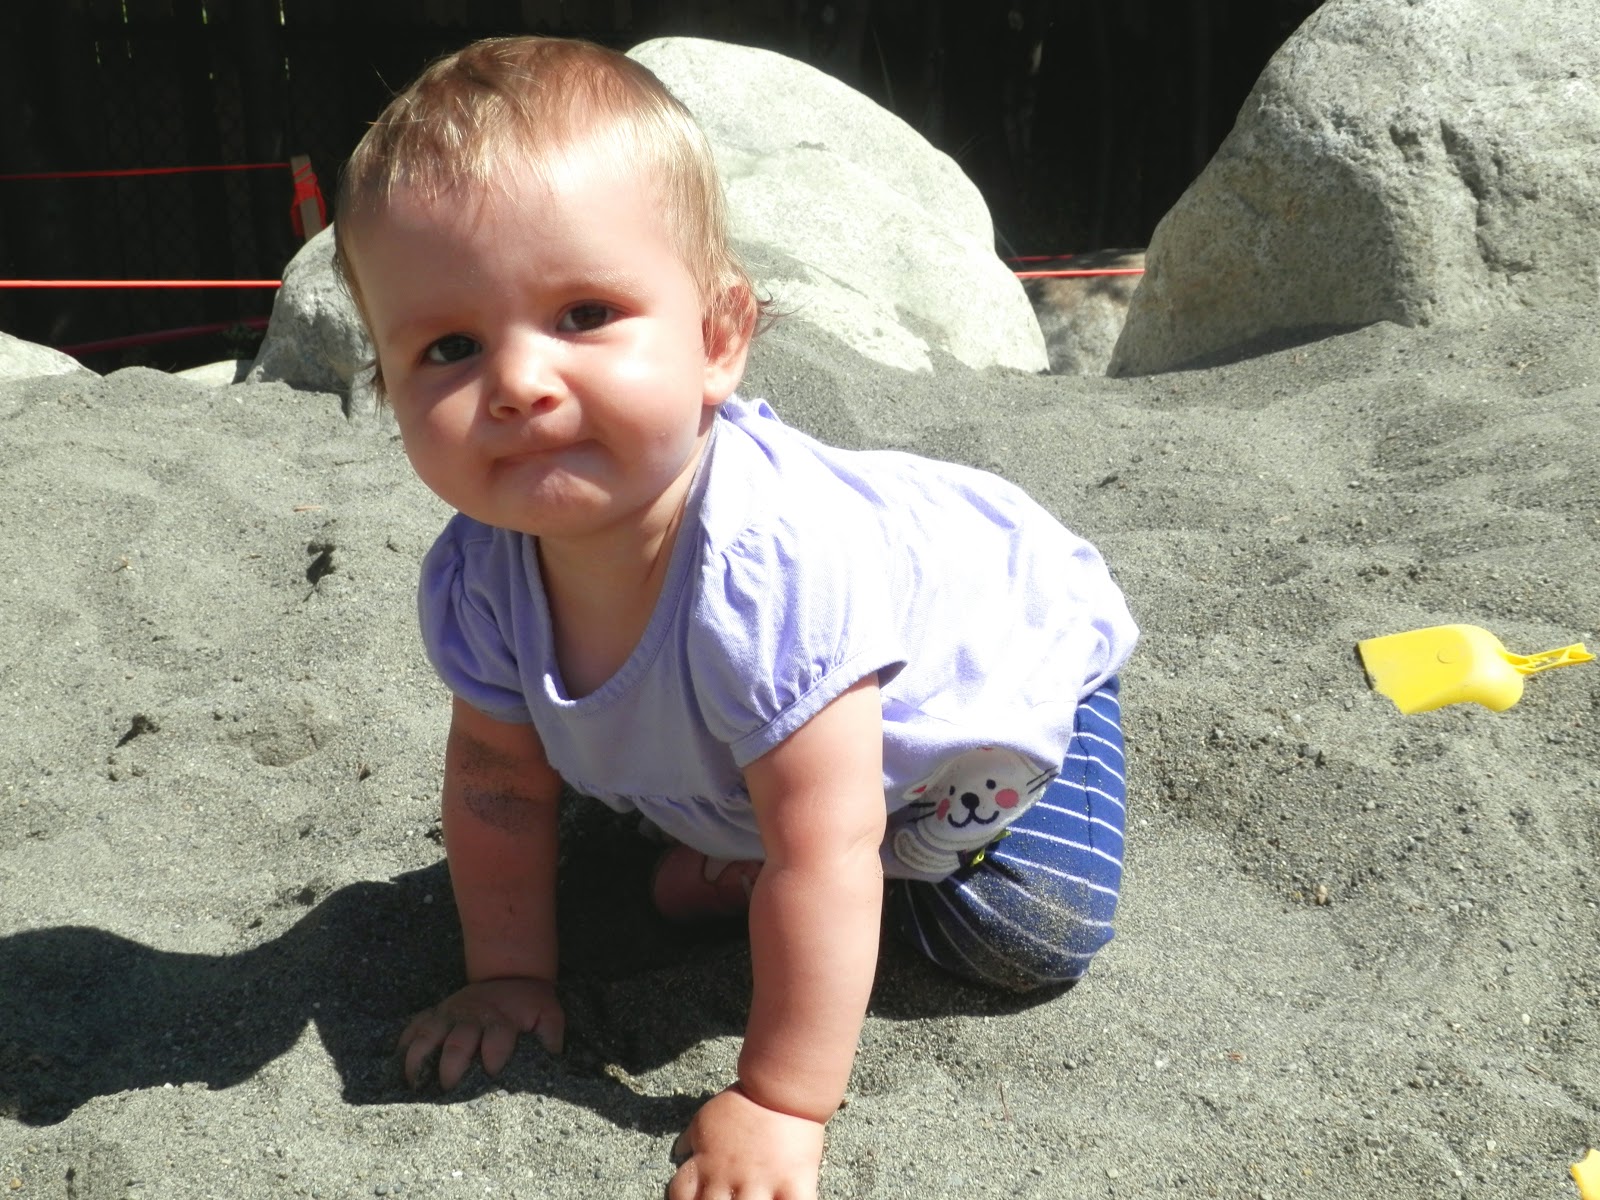
Here is the original picture that I started with:
Good picture, but kinda grainy
  1. I used Noise Reduction twice on the picture to despeckle and make it look smoother and less grainy.
  2. Increased Brightness and contrast to desired amounts. (10 brightness and 5 contrast if you're curious)
  3. go to RGB and change color levels (R -2, G 5, B 5)
  4. Go to HSL and change Saturation and Luminosity ( S 5, L 3)
  5. Crop, if desired. 
  6. Use clone brush to cover up any unwanted places.
And here is the image with basic edits applied:
But I decided I liked it better without the under-eyes smoothed over, so I undid that:
Much Cuter, I think.

Now, I decided I wanted to make it look a little vintage-y so here's what I did:
  1. Go to Brightness/ contrast and turn the contrast up pretty high (I did 28)
  2. Then go to Effects - Colors - Fade to Gray
  3. Turn saturation down (-33)
  4. Go to Effects- Colors- Sepia - Advanced
  5. Adjust Tint, Level, and contrast until desired look is achieved (T 21, L 40, C 21)
  6. Lower Opacity until Desired amount of color shows through (I did about half)
Here is the picture with these edits applied:


Which do you like better?


Tuesday, August 7, 2012

Trip to the park

Yesterday, We took Sofi on a walk to the park. We do this a lot, but we usually go in the afternoon when the sun is blazing down and this time, we went around eight at night. The lighting was so beautiful in the park, that I took a few pictures.


Monday, August 6, 2012

30 day drawing challenge: Day 1

I know, I know I'm a few days late but I promise I did draw this on the day  I said I was going to start! Anyways, this is not the greatest drawing and I half-assed the coloring but it got me drawing, which is an accomplishment. Hand drawn and colored on Photo-POS pro.

Saturday, August 4, 2012

30 Day Drawing Challenge

I found this on pinterest and I am going to do it! Starting today, I am going to do each one of these drawing challenges. One each day for 30 days. Mind you, I'm no great artist, this is just for fun fun fun!

30 day drawing challenge

Thursday, August 2, 2012

Big ol' quilt project: Part 1

For the last week or so, I have been working on this lovely quilt-along-quilt from crazy mom quilts. I am planning on making this for my friend for her birthday. (don't worry, she doesn't even know this blog exists... I hope!) Anyways, I am using a lot of green and blue fabrics in my quilt. and a lot of floral patterns!


Here is what the quilt will look like when it is finished (but with my fabric, of course!) Isn't it cute?!
I'm so excited for this project! Currently, I am cutting all of the fabric for the nine-patch pieces and then I will begin piecing the patches together!