Friday, March 22, 2013

What I'm wearing: March 22, 2013

Hey all! I thought that I would do a few kind-sorta fashion blog posts with some of my outfits that I really love. Here's what I'm wearing today:

Black circle scarf: Boyfriend's mom. Military jacket: Goodwill. Denim Shorts: Goodwill. Black Pantyhose: Fredmeyer. Black boots: target.

Obviously, I don't shop designer shops. I simply don't have the money. But I wanted to inspire some outfit ideas that don't cost a ton of money! The shoes were probably the most expensive part of this outfit.

Wednesday, March 6, 2013

Upcycling project: Onesie to T-shirt

I have always been really into upcycling things and finding new uses for items that are not used anymore for their original purpose. Especially clothes. Clothes can be made into so many different things! Blankets, home accessories or other clothes! Today, I've made clothes into... Other clothes. I took one of my daughter's outgrown onesies and turned it into a cute t-shirt for her to wear. In a few simple steps! You don't even have to hem it! And here I am to show you how to make your own onesies into t-shirts. Unfortunately, I don't have a picture of the last step or of the finished product. But hopefully, you get the point! If not, I can add the last pictures on.

Step 1: Choose a onesie that you would like to transform and lay it out flat.

Step 2: Cut the strip of snaps off the front of the onesie.

Step 3: There should be two strips of binding hanging down. Cut a rectangle out of the front of the onesie large enough to allow the two sides of binding to reach together with some allowance for a seam.

(They are not quite touching here, so I went back and cut a bigger piece of fabric out.)

Step 4: Sew the binding together

Step 5: Sew the binding to the fabric. (if there is a little fabric hanging past the binding, like there is here, you can cut it off)

Step 6:  cut the snaps off the back of the onesie.

Step 7: Cut a rectangle out, leaving the strips of binding behind. 

Step 8: Just like on the front, sew the strips of binding together.  Then, sew the binding to the onesie.

Hooray! You have a completed t-shirt!

Saturday, October 20, 2012

Sofi's First Birthday!

I know, this post is very, very late (Her party was September 8th) but here it is! (get ready for a lot of pictures!)

 Party Favor table. Clown noses
 Place to sign a piece of fabric for her memory quilt
 Beads
 Party horns

 Animal crackers
 Birthday girl
 A tiny tantrum

 Opening gifts
 The birthday throne
 Apple spice cake with cream cheese frosting
 Chocolate cake with ganache 

 Eating the cake
Birthday banners.

Thursday, August 9, 2012

Pin tackle: Home made teething biscuits

I found this recipe for Homemade teething biscuits on Pinterest and just had to try them for Sofi! Here's how I made them:

1 cup of dry infant cereal (I used rice)

1 cup of flour

Stir together with 2 tsp cinnamon

Add 1/3 cup mashed bananas or other food (I used a jar of banana baby food)

Add 2 tbsp oil and 3 tbsp water and mix into a non-sticky dough 

Roll out, cut into desired shape and bake at 425 for 10-12 minutes.

Allow to cool completely before giving to child.


Sand box fun!

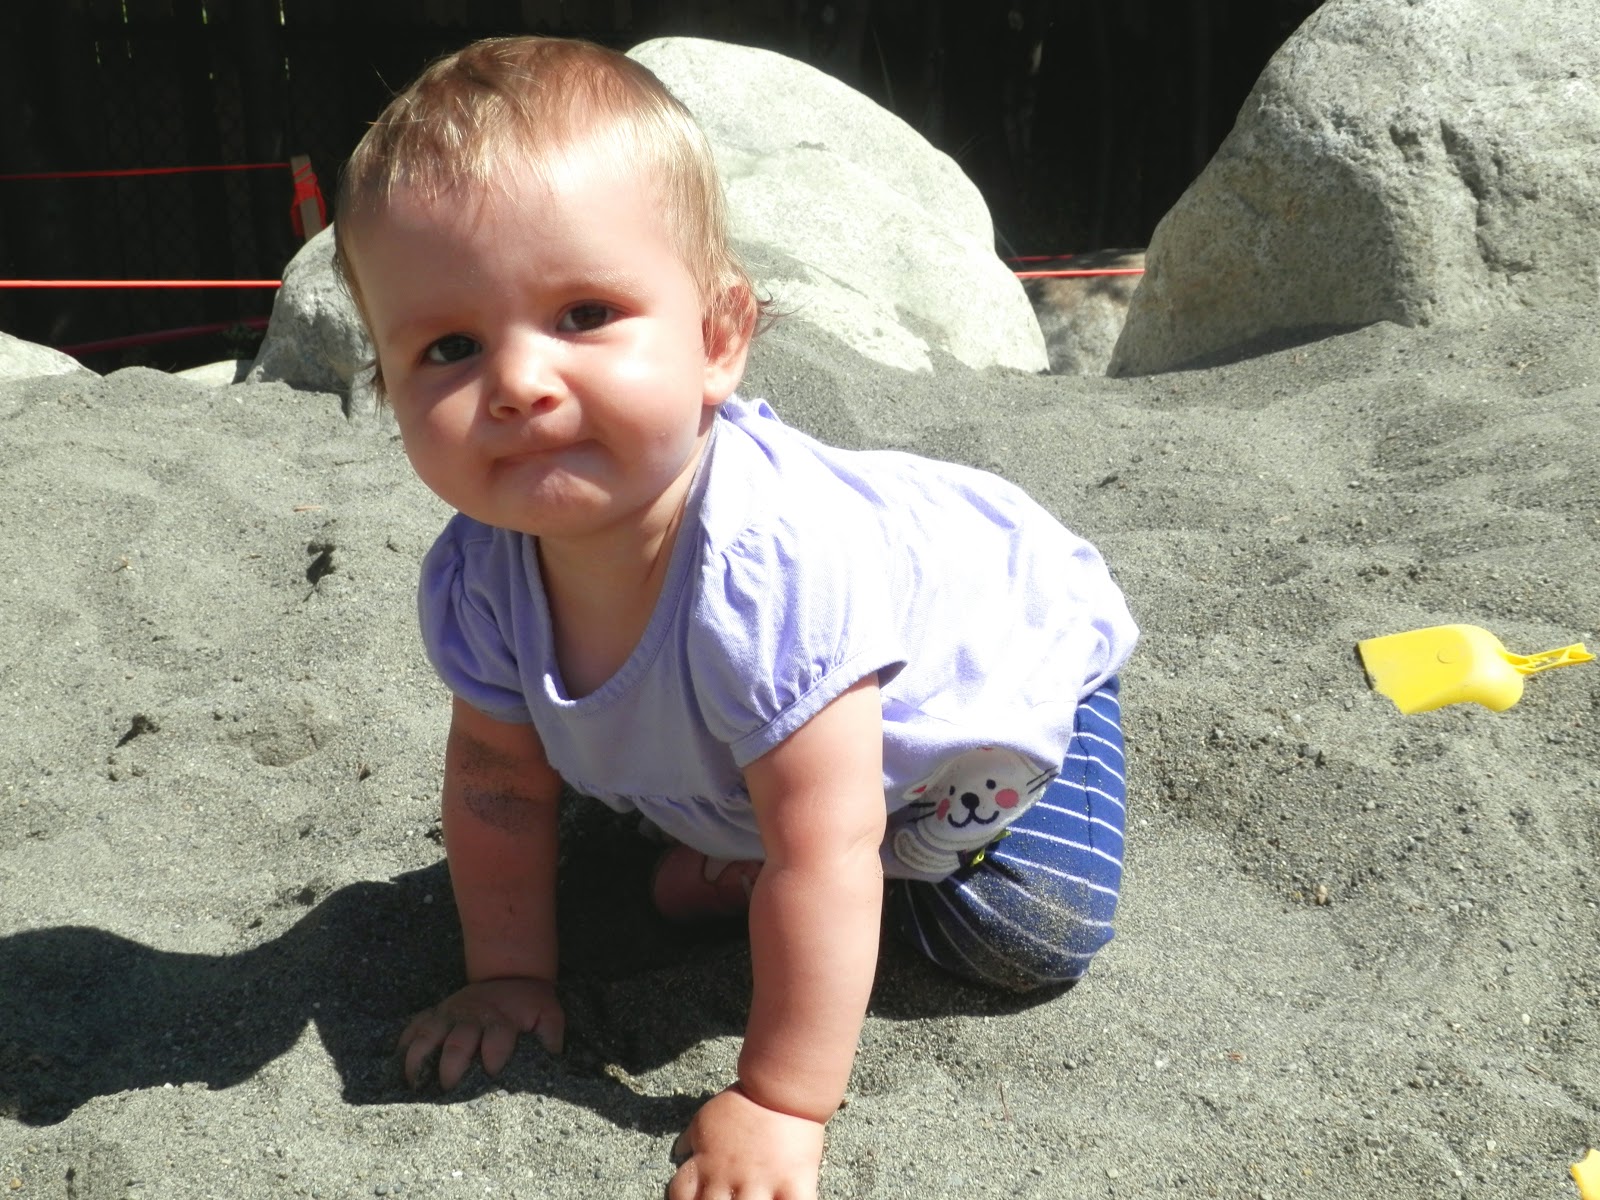
Sofi has a new-found love for sandboxes and loves to play in the one at our neighborhood park.

I love how you can see the sand falling out of her hand in this one!

See her pants? She likes to scoop up sand and dump it on her legs.

This is when she stuck a rock in her mouth (Don't worry, we got it out and she was fine)

Messy baby!

Wednesday, August 8, 2012

Photo editing tutorial with Photo Pos Pro

I downloaded a free photo editor called Photo Pos Pro and it is fantastic! It doesn't have quite as many tools as photo shop or some other more advanced editor but it is really great for touching up a basic photo. Anyways, I am just going to post a little tutorial on how to edit with photo pos pro. (and I'm sure some of these tricks apply to photo shop, too)

Here is the original picture that I started with:
Good picture, but kinda grainy
  1. I used Noise Reduction twice on the picture to despeckle and make it look smoother and less grainy.
  2. Increased Brightness and contrast to desired amounts. (10 brightness and 5 contrast if you're curious)
  3. go to RGB and change color levels (R -2, G 5, B 5)
  4. Go to HSL and change Saturation and Luminosity ( S 5, L 3)
  5. Crop, if desired. 
  6. Use clone brush to cover up any unwanted places.
And here is the image with basic edits applied:
But I decided I liked it better without the under-eyes smoothed over, so I undid that:
Much Cuter, I think.

Now, I decided I wanted to make it look a little vintage-y so here's what I did:
  1. Go to Brightness/ contrast and turn the contrast up pretty high (I did 28)
  2. Then go to Effects - Colors - Fade to Gray
  3. Turn saturation down (-33)
  4. Go to Effects- Colors- Sepia - Advanced
  5. Adjust Tint, Level, and contrast until desired look is achieved (T 21, L 40, C 21)
  6. Lower Opacity until Desired amount of color shows through (I did about half)
Here is the picture with these edits applied:


Which do you like better?


Tuesday, August 7, 2012

Trip to the park

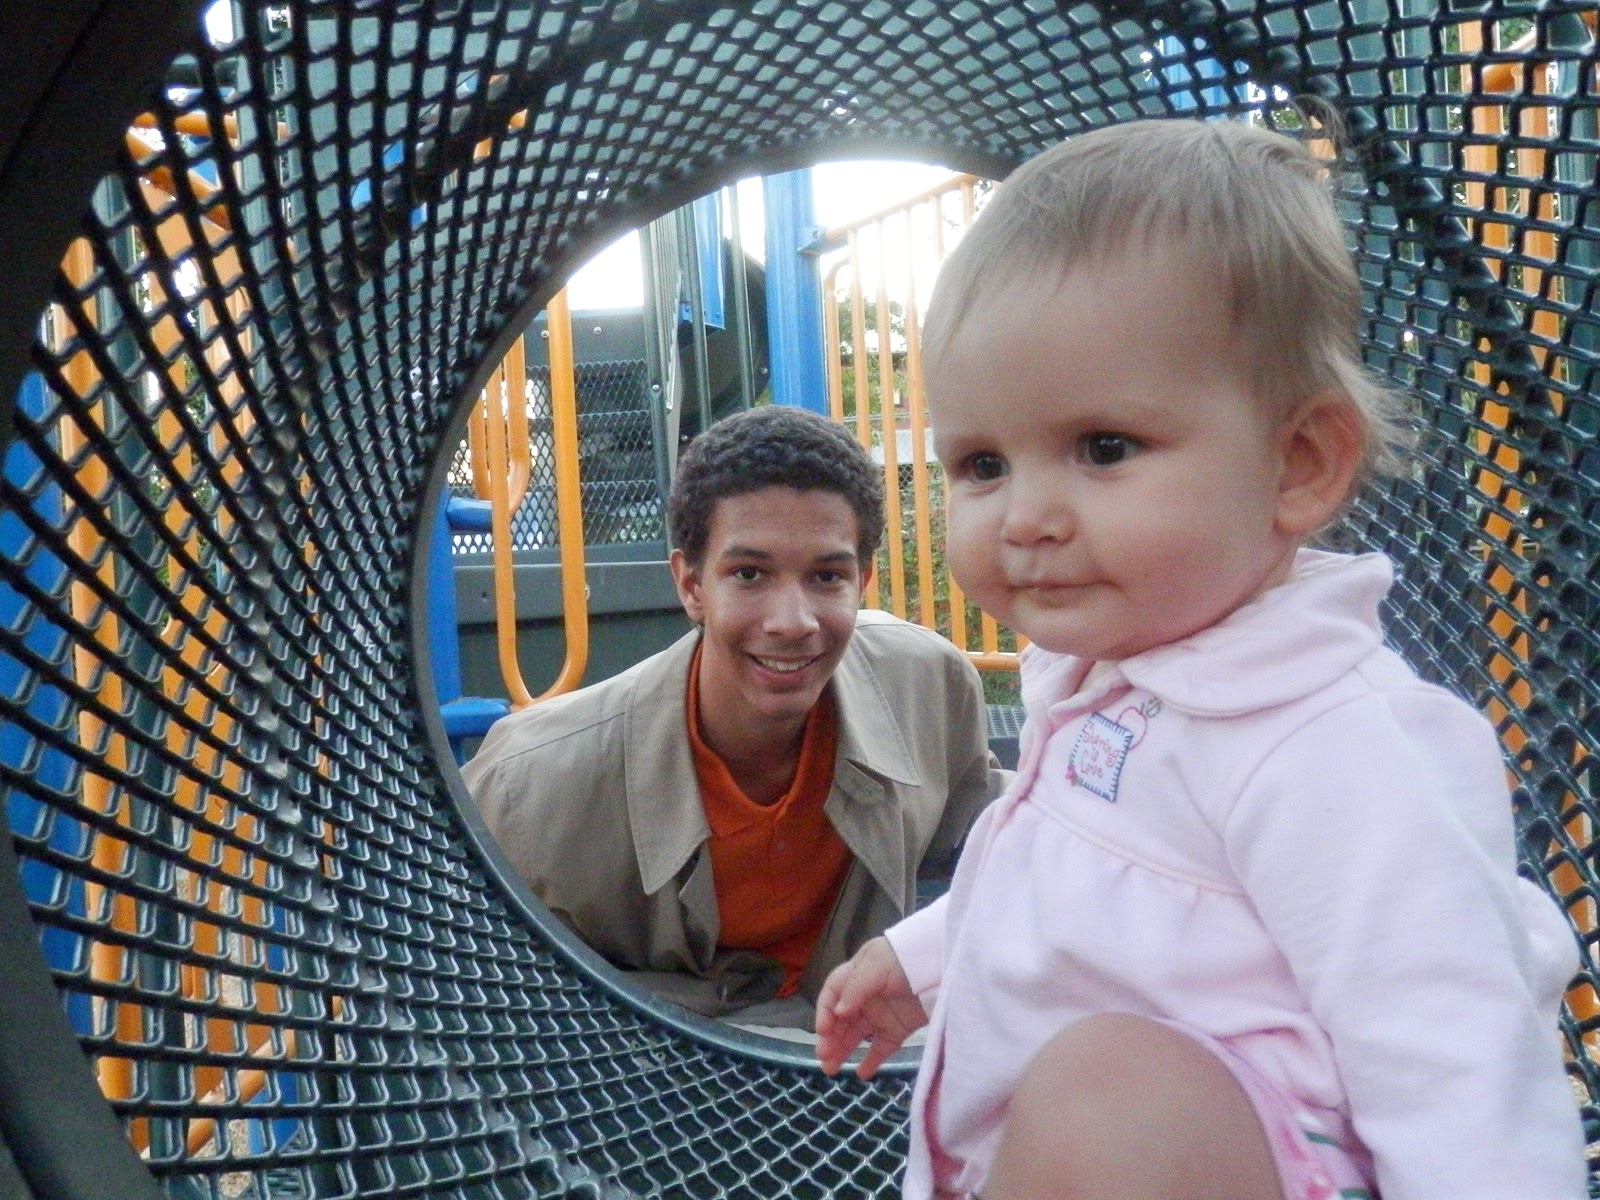
Yesterday, We took Sofi on a walk to the park. We do this a lot, but we usually go in the afternoon when the sun is blazing down and this time, we went around eight at night. The lighting was so beautiful in the park, that I took a few pictures.


Monday, August 6, 2012

30 day drawing challenge: Day 1

I know, I know I'm a few days late but I promise I did draw this on the day  I said I was going to start! Anyways, this is not the greatest drawing and I half-assed the coloring but it got me drawing, which is an accomplishment. Hand drawn and colored on Photo-POS pro.

Saturday, August 4, 2012

30 Day Drawing Challenge

I found this on pinterest and I am going to do it! Starting today, I am going to do each one of these drawing challenges. One each day for 30 days. Mind you, I'm no great artist, this is just for fun fun fun!

30 day drawing challenge

Thursday, August 2, 2012

Big ol' quilt project: Part 1

For the last week or so, I have been working on this lovely quilt-along-quilt from crazy mom quilts. I am planning on making this for my friend for her birthday. (don't worry, she doesn't even know this blog exists... I hope!) Anyways, I am using a lot of green and blue fabrics in my quilt. and a lot of floral patterns!


Here is what the quilt will look like when it is finished (but with my fabric, of course!) Isn't it cute?!
I'm so excited for this project! Currently, I am cutting all of the fabric for the nine-patch pieces and then I will begin piecing the patches together!

Saturday, July 21, 2012

Lemon butter shrimp with lemony rice - pin tackle

Last night for dinner I made this lemon and butter shrimp with a lemony rice. (shrimp recipe found on pinterest.) I did not take my own pictures because my camera charger is missing and my camera currently has a dead battery :(
But here is the picture from Pinterest:
Whoa... Melt a stick of butter in the pan.  Slice one lemon and layer it on top of the butter. Put down fresh shrimp, then sprinkle one pack of dried Italian seasoning. Put in the oven and bake at 350 for 15 min. Best Shrimp you will EVER taste:)
And here is the recipe: SO EASY!

  • 2 lbs. fresh, raw, medium or large shrimp.
  • 1 stick of butter, melted
  • 3 baby lemons or 1 big lemon, sliced
  • Italian seasoning packet (But I used salt and black pepper)


  1. Pre-heat oven to 350 degrees
  2. Line a baking sheet with an edge with tin foil
  3. Pour melted butter into baking sheet
  4. Place sliced lemon in baking sheet
  5. arrange shrimp on top of lemon
  6. Sprinkle with italian seasoning packet (or salt and pepper)
  7. Place in pre-heated oven for 15 minutes
  8. ENJOY!
I also made some delicious lemon rice (no picture, sorry)
I just cooked 2 cups of rice in lightly salted water and then added the zest of 2 baby lemons and the juice of 1 1/2 of the baby lemons and about a table spoon of olive oil and mixed it all together. (I ended up squeezing the extra 1/2 lemon over the shrimp)

And here are the remaining recipes (I have A LOT more pinned now, but I am too lazy to put them all here, so I will add them to the list as I do them. Lazy, I know)


  • Jalapeno poppers with bacon and cream cheese in a crescent roll
  • Healthy Baked French Fries
  • Tie Dye cake
  • Buffalo chicken rolls    (I am about to do a post on these, but no pictures for this, either)
  • Vanilla bean cheesecake with chocolate crust and salted caramel topping (OH, YUM)
  • Make ahead breakfast burritos
  • Loaded potato and buffalo chicken casserole
  • Garlic Parmesan pull apart bread
  • Crock-pot apple sauce
  • Homemade pizza pockets
  • baked mozzarella sticks
  • Shrimp, pesto, and goat cheese pizza
  • Frosted soft sugar cookies
  • Soft pretzel bites
  • Buffalo chicken pasta salad
  • Baked apples with oatmeal streusel topping
  • Baked breaded mushroom caps
  • crescent rolls with spinach and feta
  • zucchini fritters
  • S'more filled chocolate chip cookie
  • crockpot mac and cheese
  • baked pumpkin spice donuts
  • cookies and cream filled chocolate cake
  • bacon wrapped smokies
  • Baked lemon butter shrimp
  • mac and cheese casserole
  • Chocolate chip oreo brownie cookie bar
  • loaded potato rounds
  • snowmen cupcakes
  • nutella cookies
  • Warm roasted potato salad
  • mango lemonade
  • waffle iron hashbrowns
  • iced coffee concentrate
  • baked strawberry donuts
  • baked donuts
  • pretzel chocolate chip cookies
  • stuffed pizza
  • mini meatloafs
  • pineapple banana pops
  • wonton tacos
  • cinnamon chile roasted sweet potatoes
  • shrimp and bell pepper quesadillas 
  • Friday, June 29, 2012

    Creamy, Delicious Southwestern Mac and Cheese

    Last night for dinner, I made probably the creamiest, cheesiest, most delicious mac and cheese that I have ever made! WARNING: this post contains a lot of yummy, mouth watering pictures that will make you crave some mac and cheese!
    Here are the ingredients you will need:

    • 1 Jar Salsa con queso (I used a jar and a bit)
    • 4 cups pasta of your choice
    • 4 tbsp butter
    • 4 tbsp flour
    • 1/2 cup cheddar jack
    • 1/4 cup mozarella
    • 2 cups milk, divided
    Step 1: Cook pasta in salted, oiled water until just under cooked. Drain into strainer.

    Step 2: In pan that pasta was cooked in, melt butter over medium heat. Add flour and stir well. Pour in half of the milk and reduce. When sauce is thickened, add other cup of milk and cook down until sauce is thick and creamy. Salt and pepper sauce.

    Step 3: Pour in jar of Salsa con Queso and stir until it is well blended into the white sauce.

    Step 4: Stir pasta and cheddar jack cheese into sauce. 
    Step 5: Sprinkle Mozzarella cheese on top. 
    Step 6: Bake at 350 degrees for 30-40 minutes.
    Step 6: Serve up in a bowl and enjoy!
    (I am obsessed with black pepper, in case you were wondering what those specks on top are)